Brewing Kombucha
/
I said I would post my kombucha process days ago and I'm finally getting to it now! In this season of life, with three kids four and under, I tend to miss deadlines I give myself. I have such good intentions in the morning, then once the kids are finally tucked in at night, I’m just doing what I can to stay awake a little longer myself. I’m going on a streak of a few days of being really tired. I work as a server a few nights a week and, man, those shifts will wipe a mom out! But I am very thankful for this season of life, I really do believe everyone who says it goes by quickly.
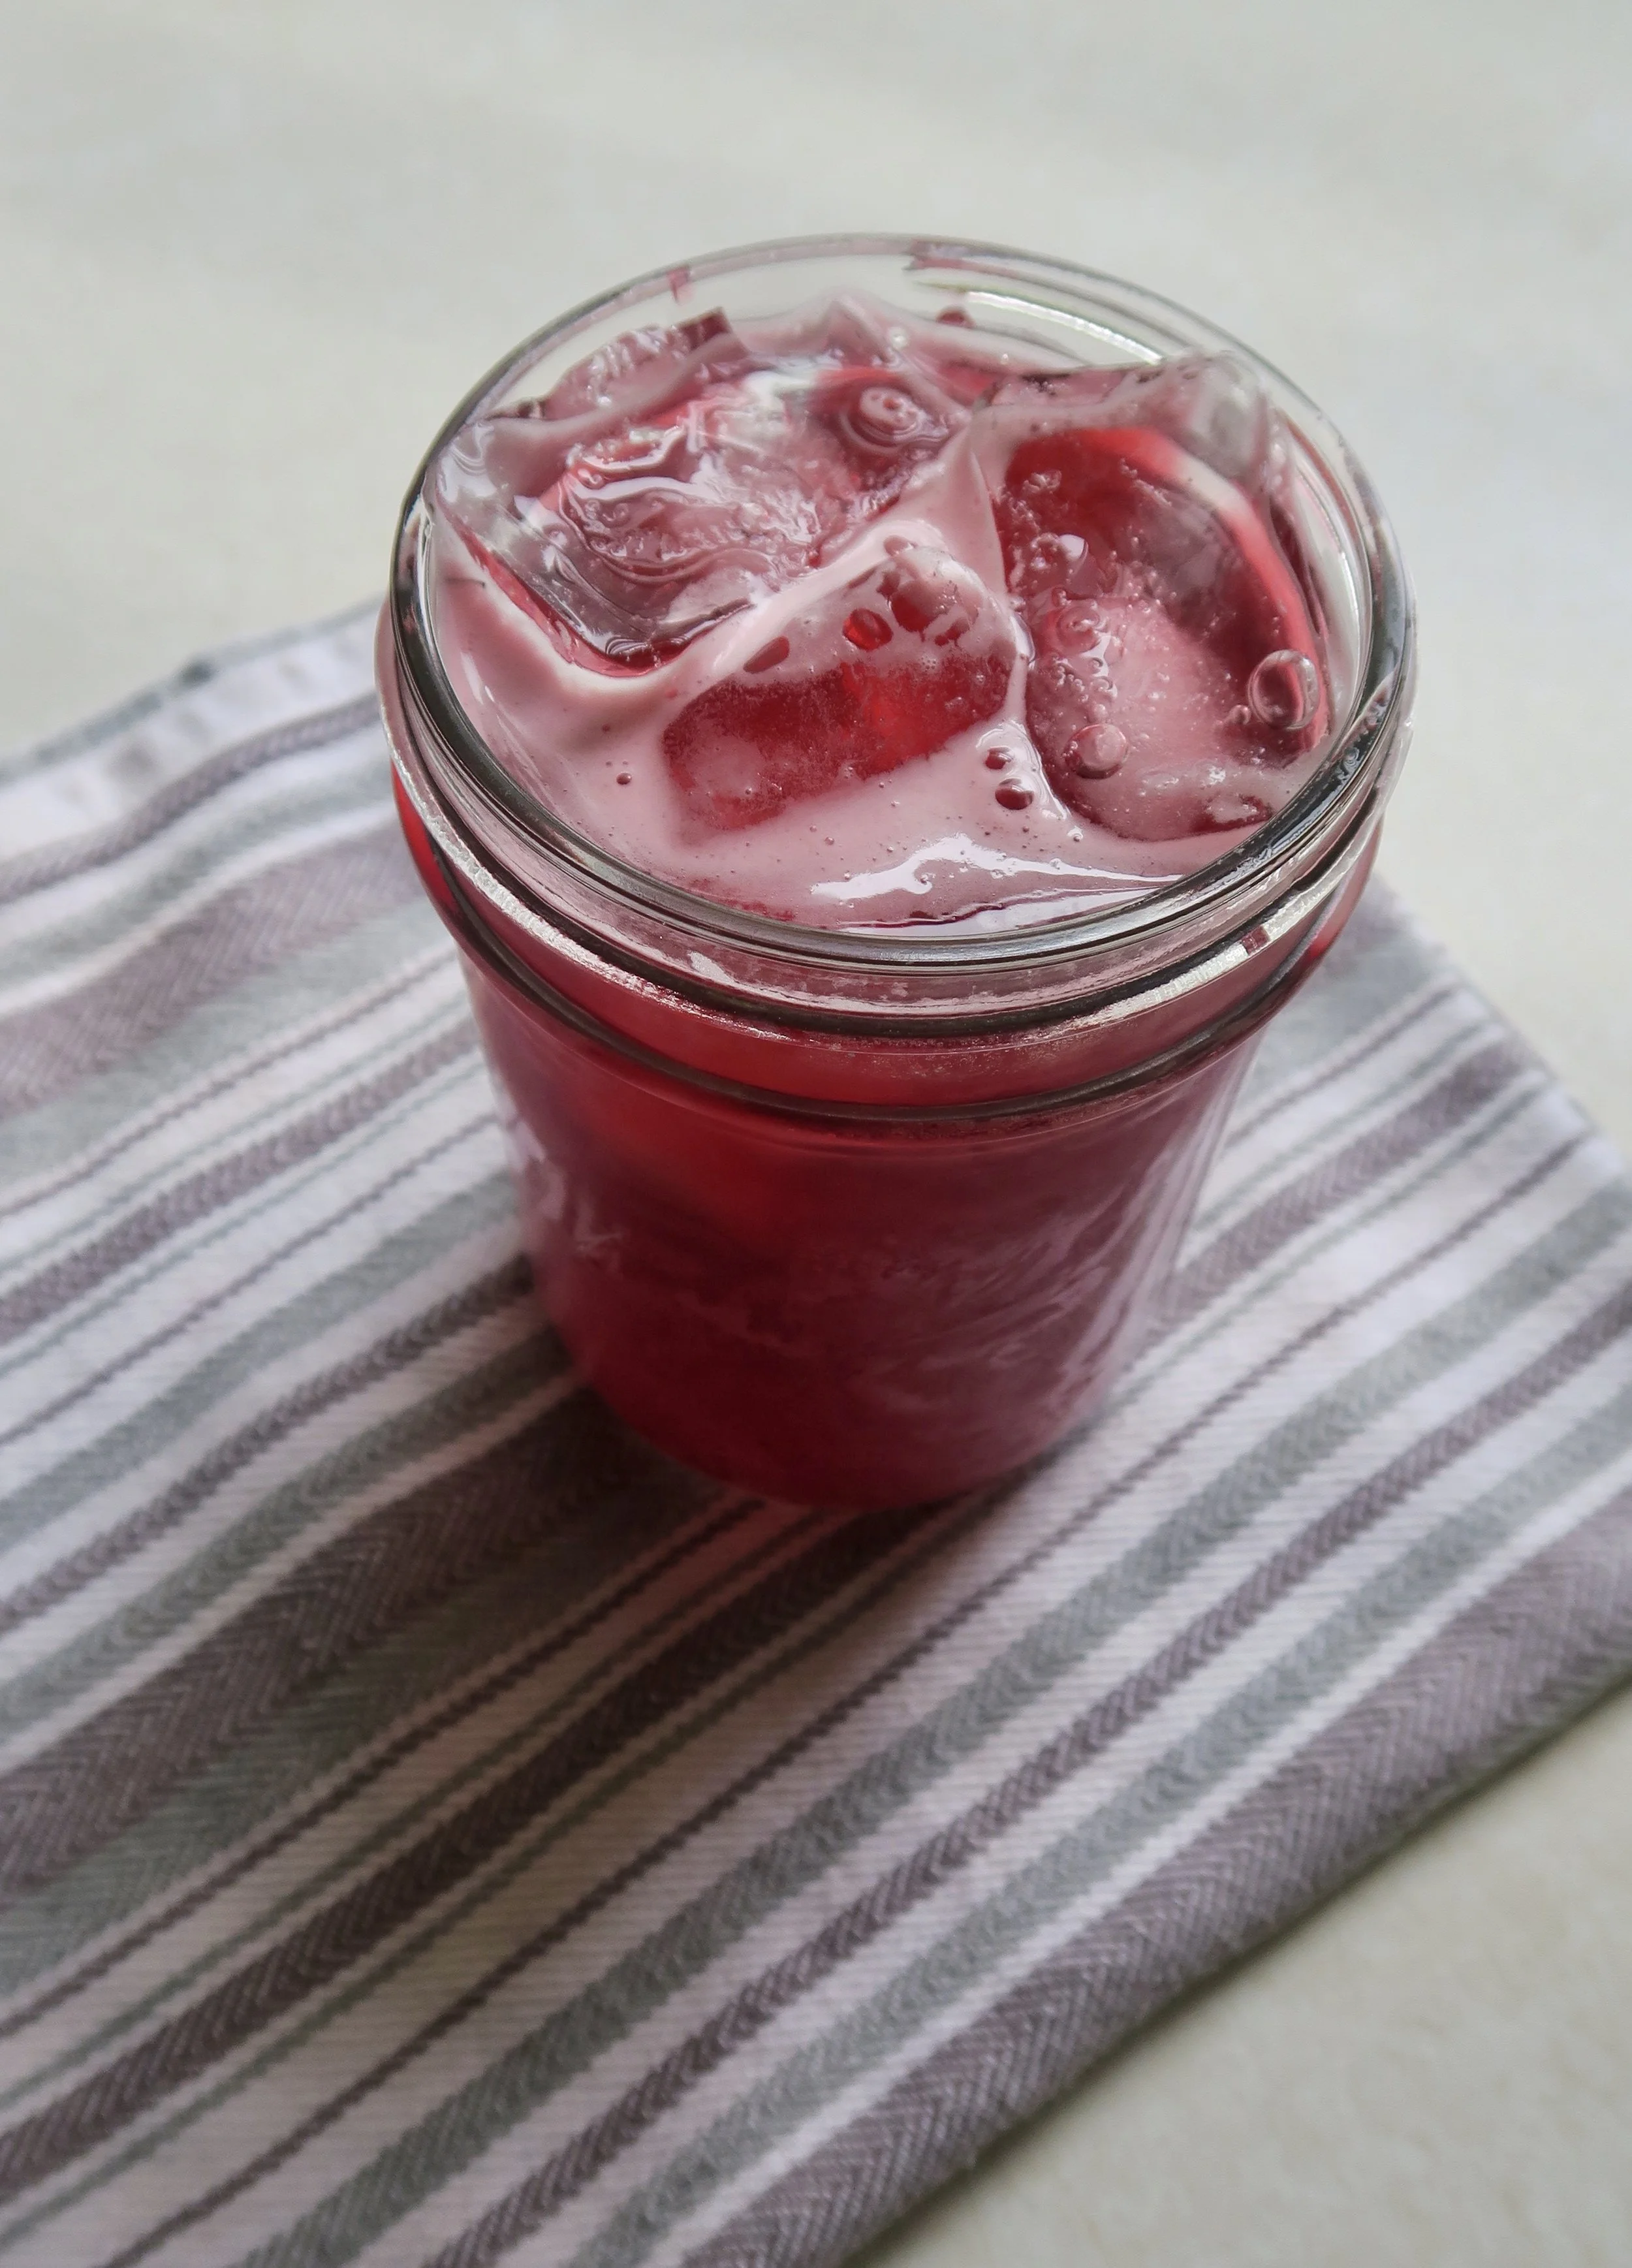
Kombucha is one of those special treats I love to have around for myself. It’s a nice afternoon pick-me-up on long, hot summer days. I’ve been brewing kombucha for several years now and have learned a few lessons along the way. I’m no expert, but my method is working well and makes some great kombucha! If you are local and need a scoby, let me know! I have a super scoby right now that really likes to reproduce. :)
How I Brew Kombuca
- Bring about 4 quarts of water to boiling in a large pot. Let boil for a few minutes and then turn off the heat.
- Add 4-5 black tea bags and 1 c sugar. Stir the sugar until it dissolves.
- Let the tea bags steep for about 20 min and then remove them. Let the tea sit until it has cooled completely. (I will often cover the pot and let it sit overnight)
- Pour your tea into a large glass vessel and place the scoby with some of its liquid in with the tea. (Hint: I use a pickle jar that I got from Jimmy John’s!)
- Place a towel over the jar and hold it on the lid with a rubberband.
- Let the brewing kombucha sit in a cool, dark place for one week.
- After one week, you can go right ahead and drink your kombuca. However, if you want it carbonated, you will need to bottle it next. I use old beer bottles for carbonating.
- Sterilize your bottles with a food grade sterilizer. Sterilize your funnel, as well, if using.
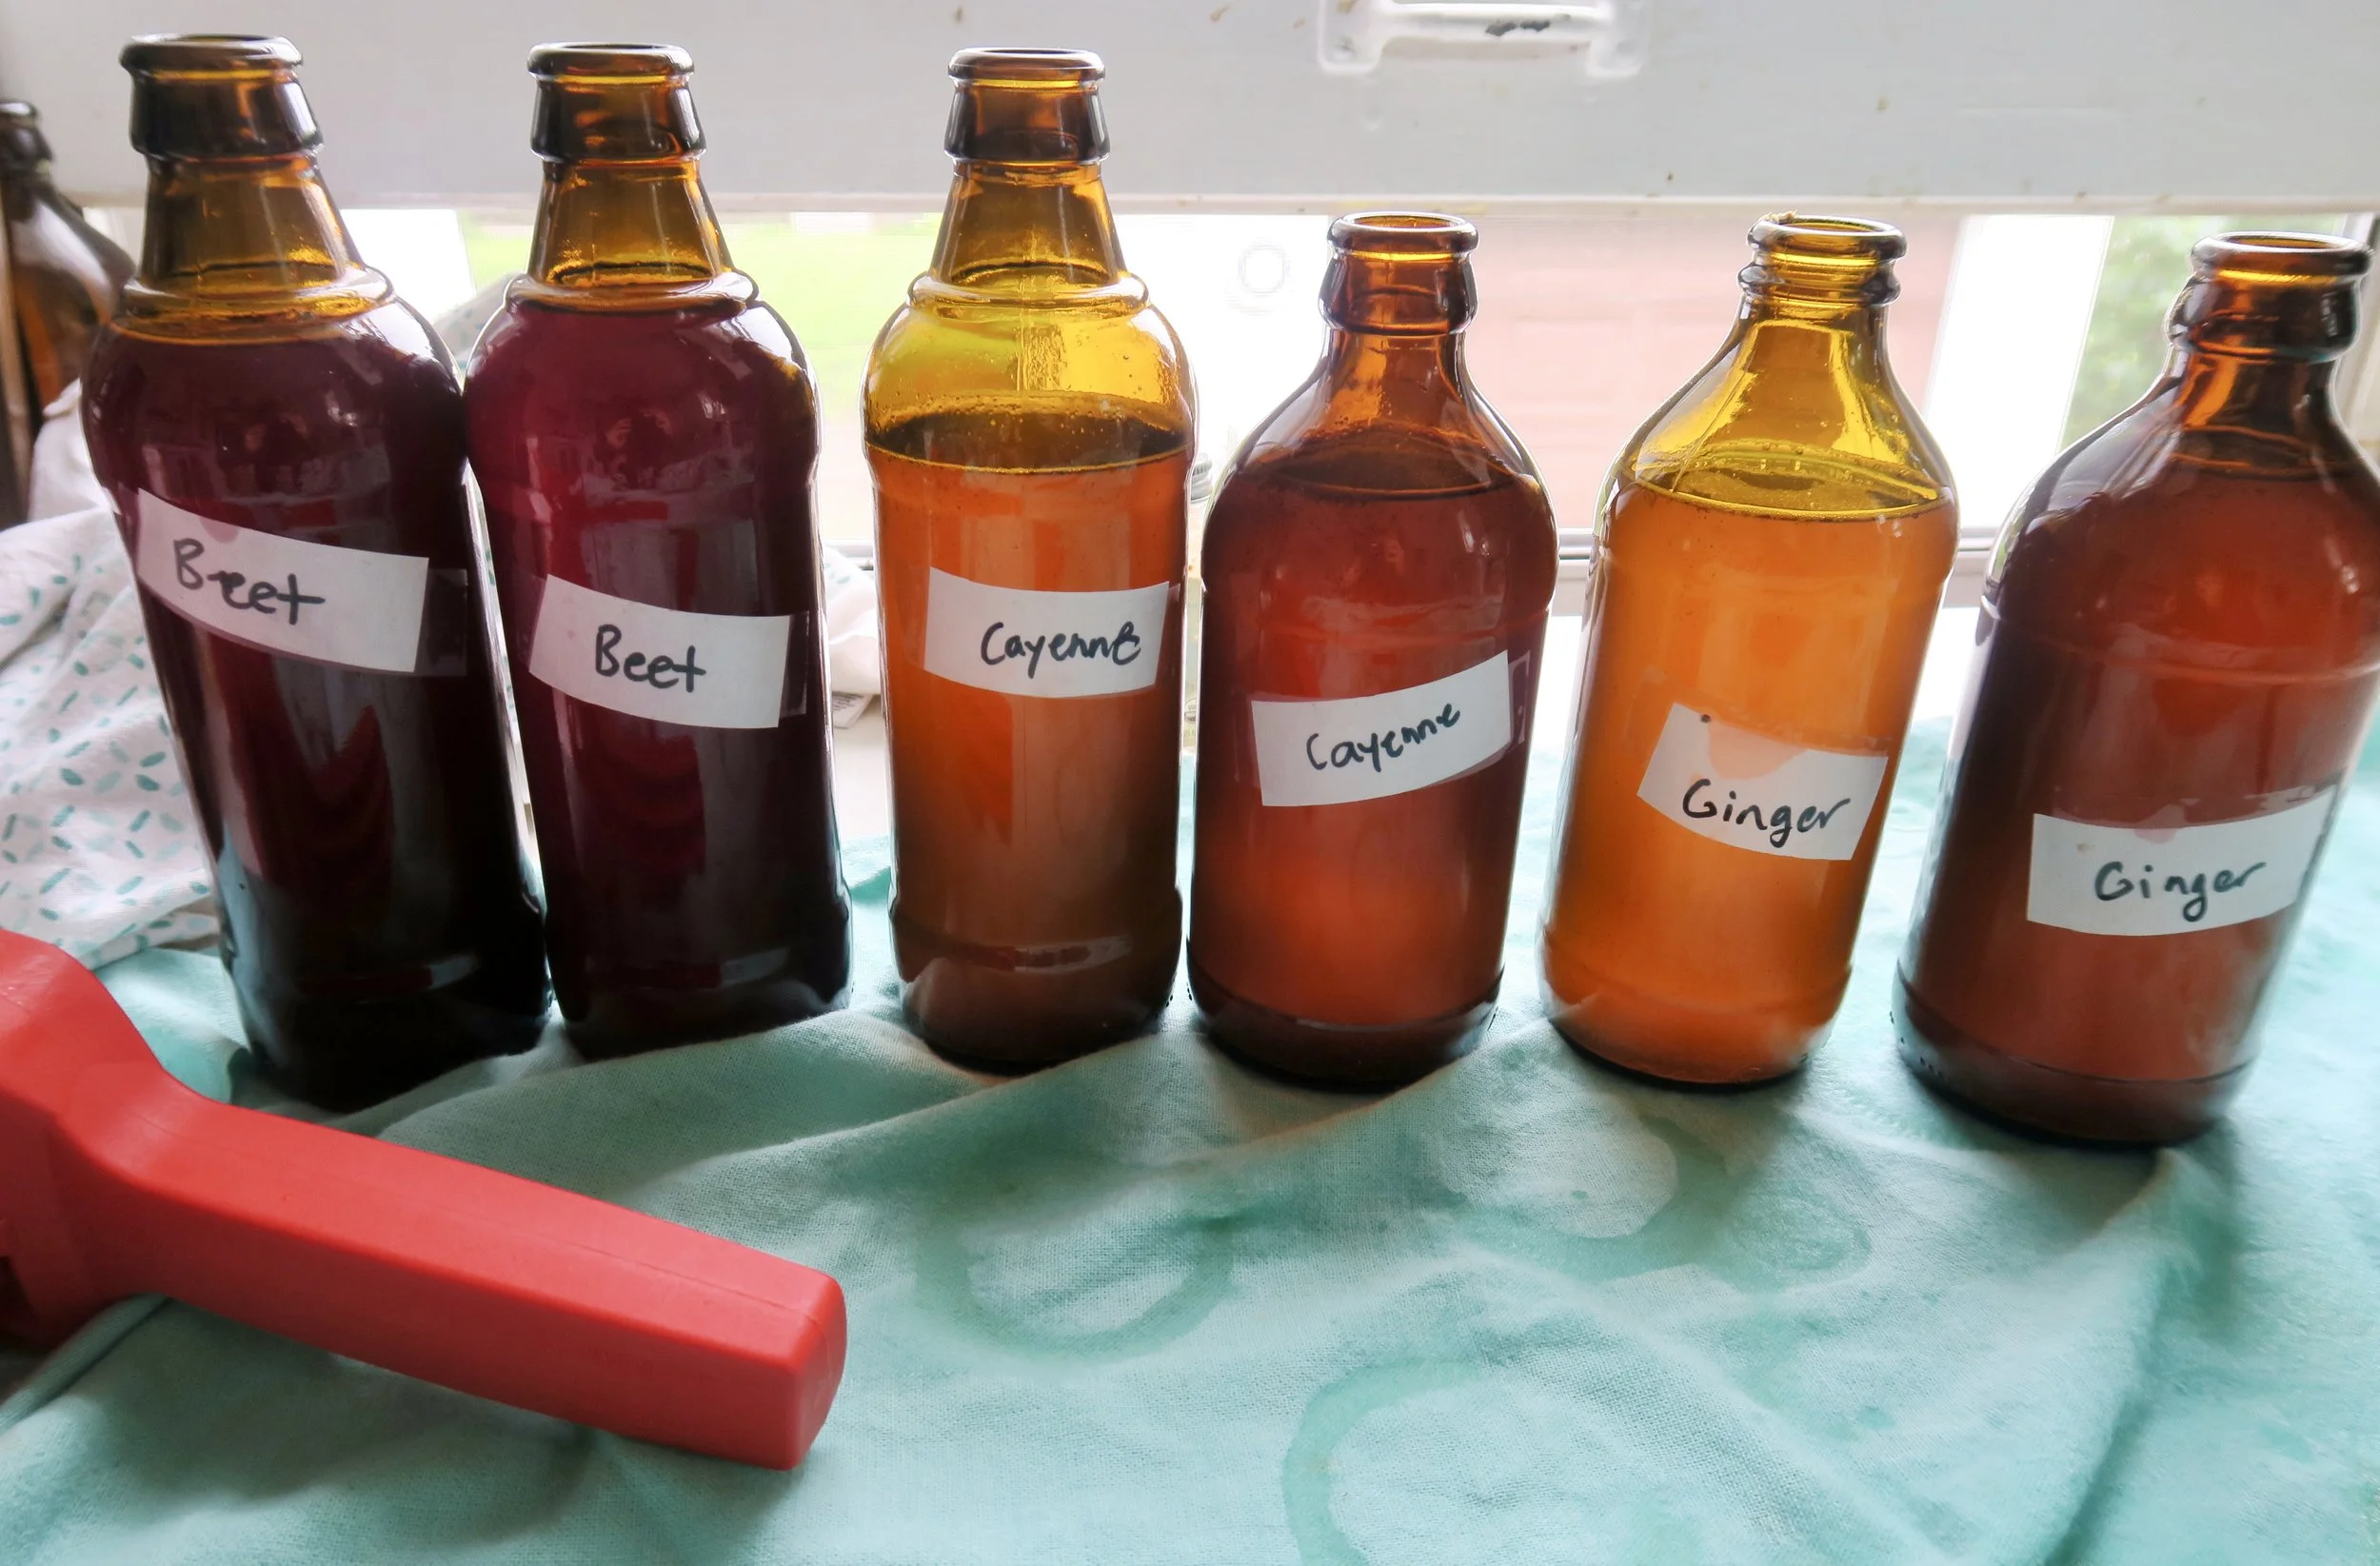
- Pour the kombucha into your bottles, leaving some room at the top. Reserve at least 1 cup of liquid to keep with your scoby. (If you want to add any juice or flavors to your kombuca, now is the time. I have added, ginger, beet juice, cayenne, and vanilla so far)
- Use a bottle capping tool to cap your kombucha bottles. (Or you could use bottle that have flip caps)
- Let the bottled kombucha sit in a dark place at room temperature for about 1 week. Open one to test if it has carbonated.
Making kombucha is so easy once you get started! And it is much more economical than buying bottles in the store! I hope you enjoy!